
A low-budget Raspberry Pi time-lapse camera
From the archive. We first published this in November 2021. We’ve tidied up the writing and taken out the installation steps, which no longer work on current Raspberry Pi OS. SmoothLapse is being rebuilt: join the early-access list to hear when it’s ready.
Dedicated time-lapse cameras such as the Brinno, a GoPro or a Canon EOS cost several hundred pounds. A Raspberry Pi can do the same job for far less and still produce excellent results. The catch has always been the software: setting up a time-lapse on a Pi meant Linux and scripts, which put off a lot of photographers. Making it point-and-shoot was the whole idea behind SmoothLapse.
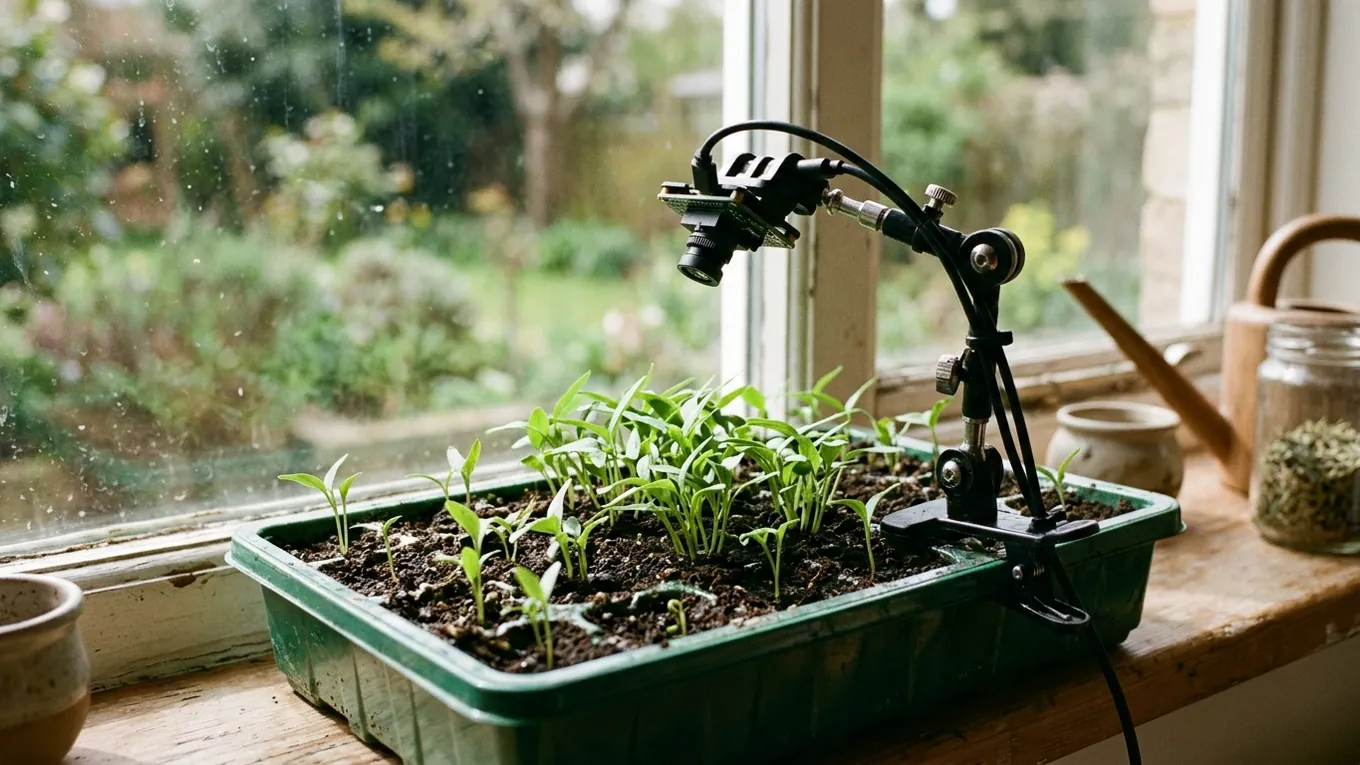
To show how cheap it could be, we built a complete time-lapse camera for about £75 ($100) and used it to film water spinach seedlings sprouting. With the Raspberry Pi Zero 2 W, which had just come out, the same build would have cost about £55 ($75).
The parts (2021 prices)
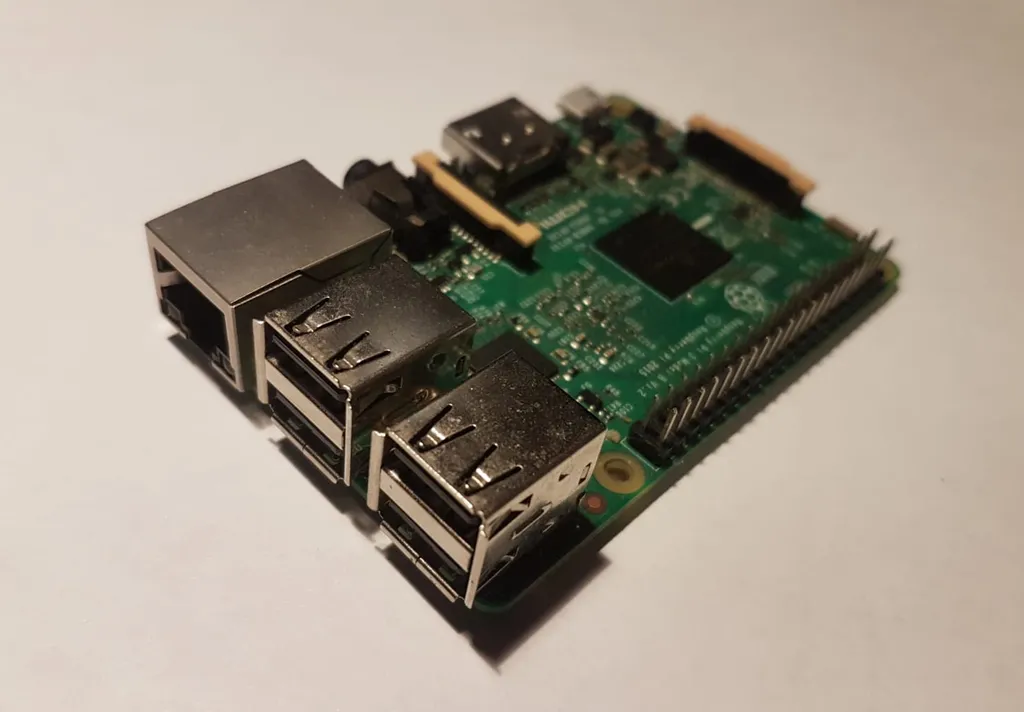
Raspberry Pi 3, £33.90 (about $46)
The Raspberry Pi 2, 3, 4 and Zero 2 W all worked for this project. A Zero 2 W saves about £20; its web pages load a little more slowly, but it takes photos just as well.
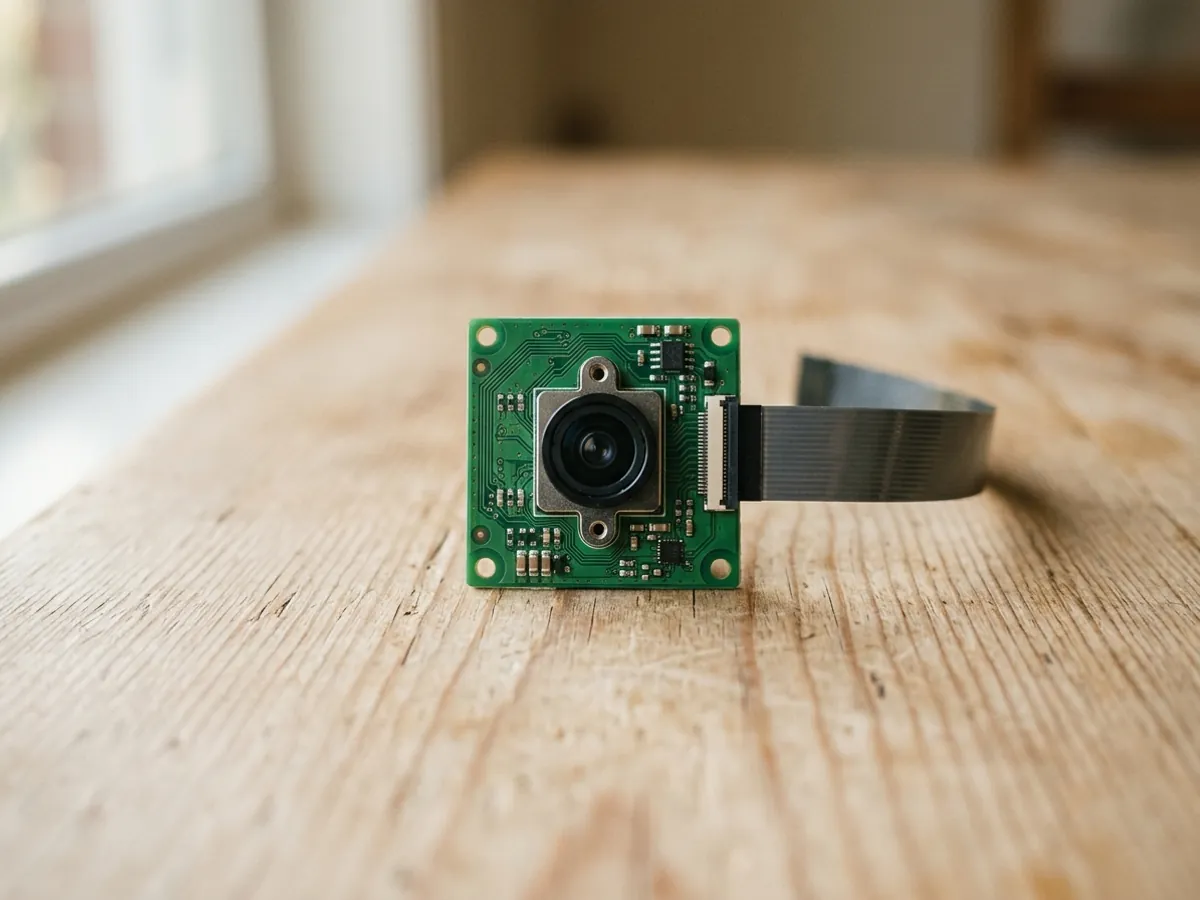
Camera module, about £18 ($24)
We chose the InnoMaker 5 MP 1080p module, which has manual focus. Camera modules ranged from about £7 for the most basic to £75 for the Raspberry Pi High Quality Camera with a lens. Any of them would have worked; this one was a good balance of quality and price.
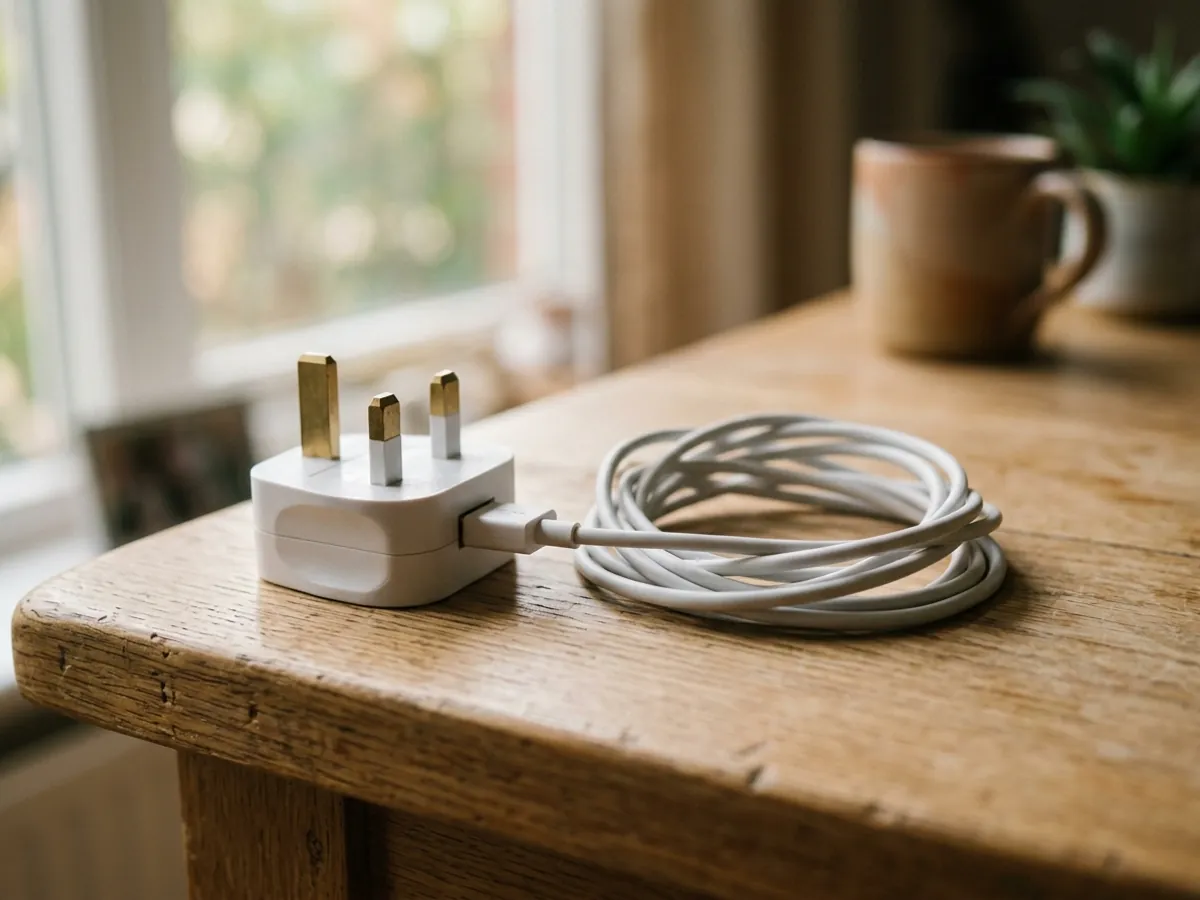
Official power supply, about £8 ($11)
The camera would be taking photos around the clock, so a reliable supply mattered. The official Raspberry Pi power supply is a safe choice.
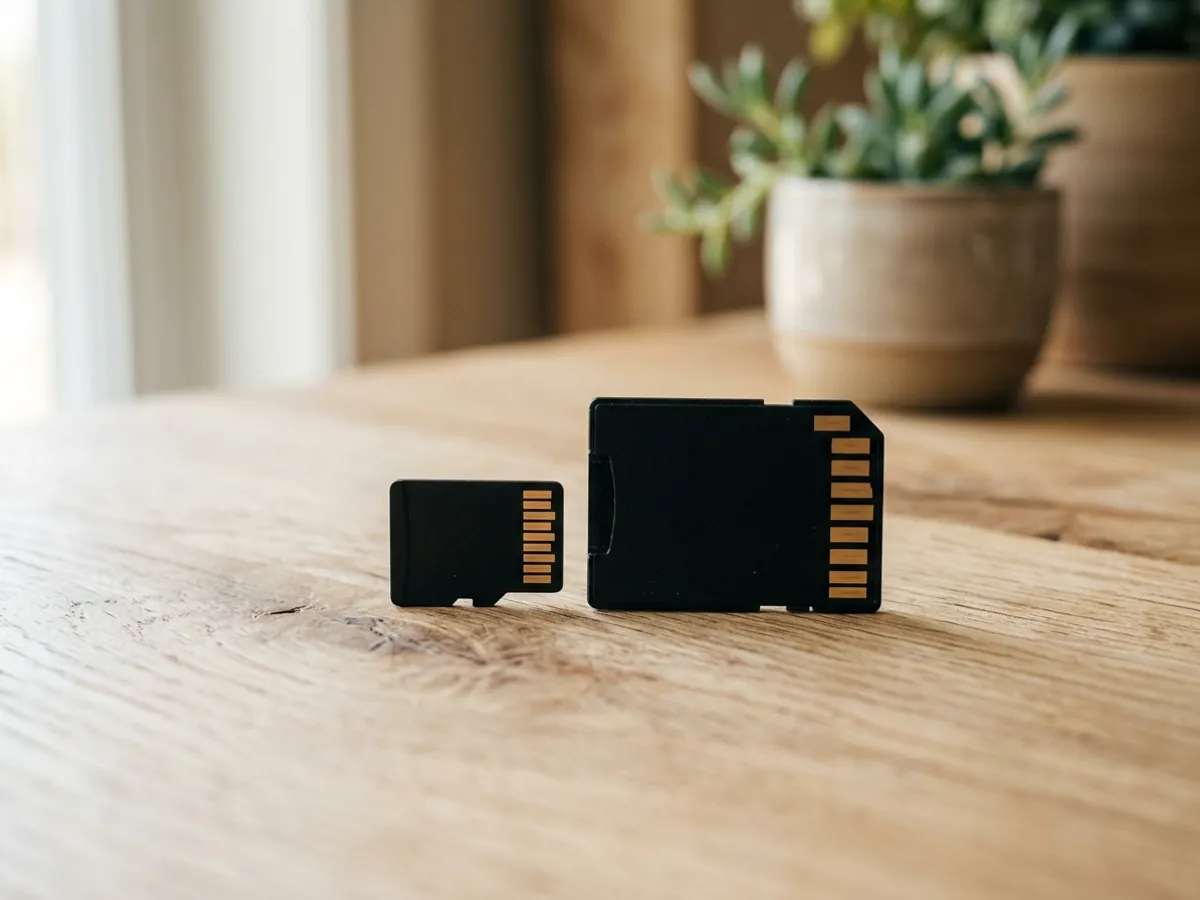
32 GB microSD card, about £9 ($12)
Plenty for 1080p photos. For 4K with the High Quality Camera, a 64 or 128 GB card (up to about £20) is a better fit. Buy from a reputable brand: cheap cards are prone to corrupting data.
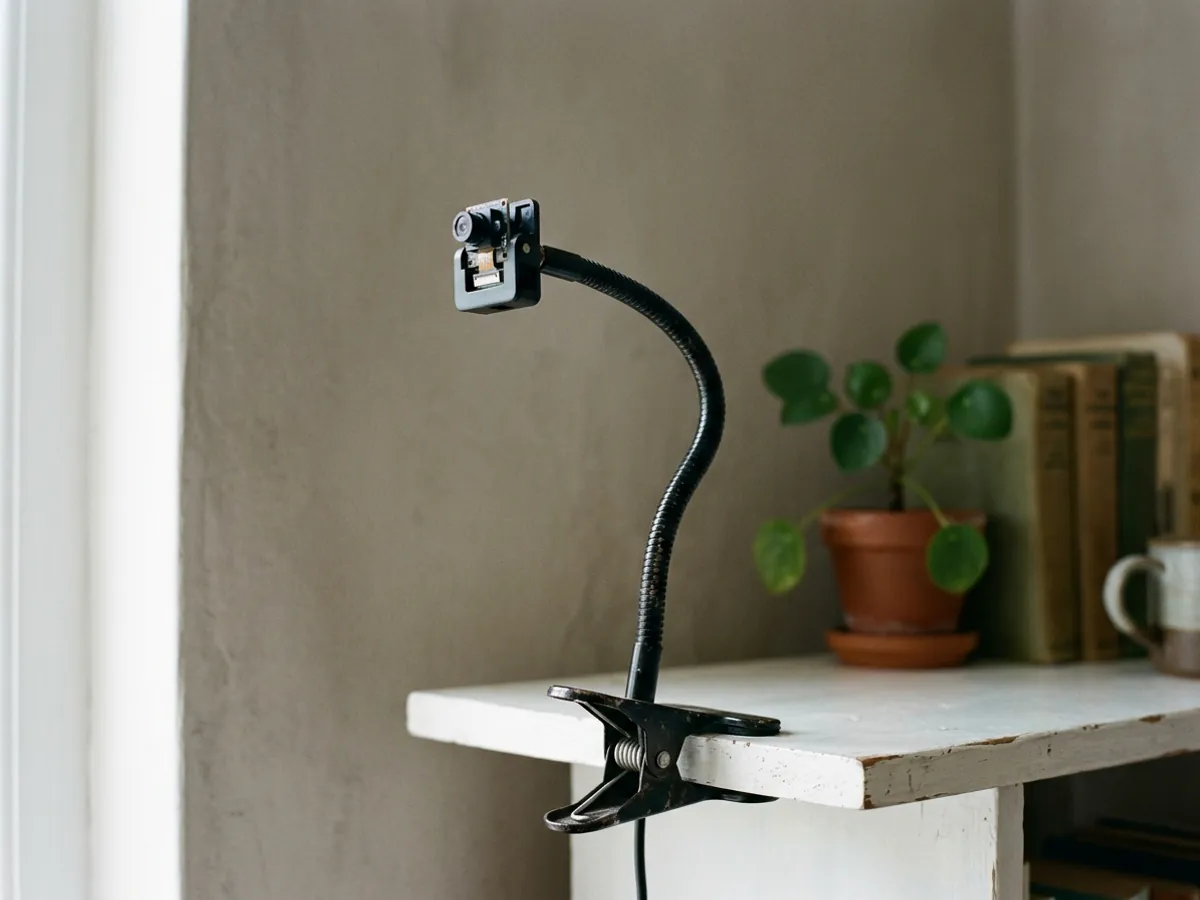
Clip-on camera arm, about £5 ($7)
It doesn’t need to be anything special. Even a basic adjustable arm is far easier than balancing the camera in place.
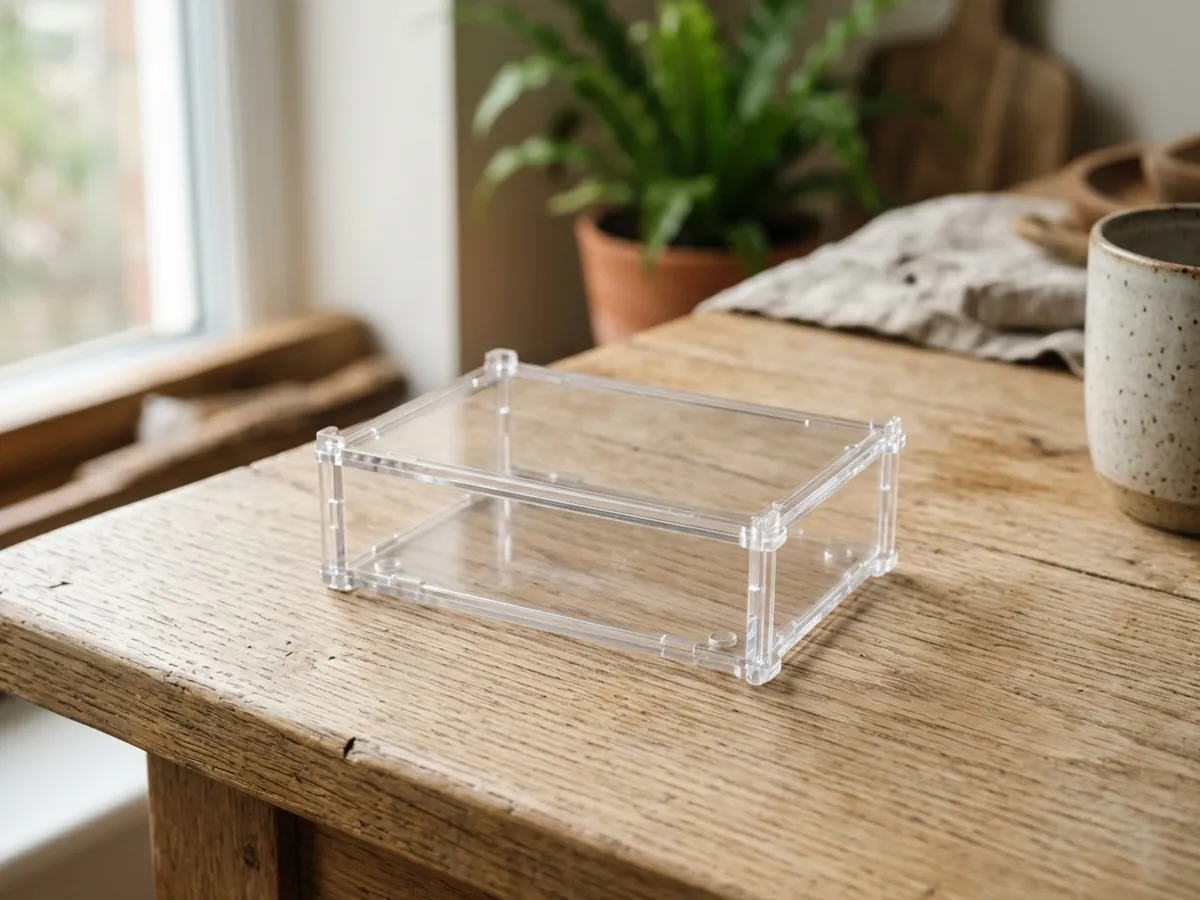
A simple case, about £3 ($4)
With plants and watering nearby, a basic case kept stray water and soil off the board.
You’ll also need an SD card reader to set up the card, if your computer doesn’t have one built in.
Setting it up
In 2021 this meant writing Raspberry Pi OS Lite to the SD card, switching on the camera, and running the SmoothLapse installer. Those steps relied on the old Raspberry Pi camera system and an installer download that no longer exist, so we’ve removed them. When the new version is ready, we’ll publish fresh instructions.
Filming the seedlings
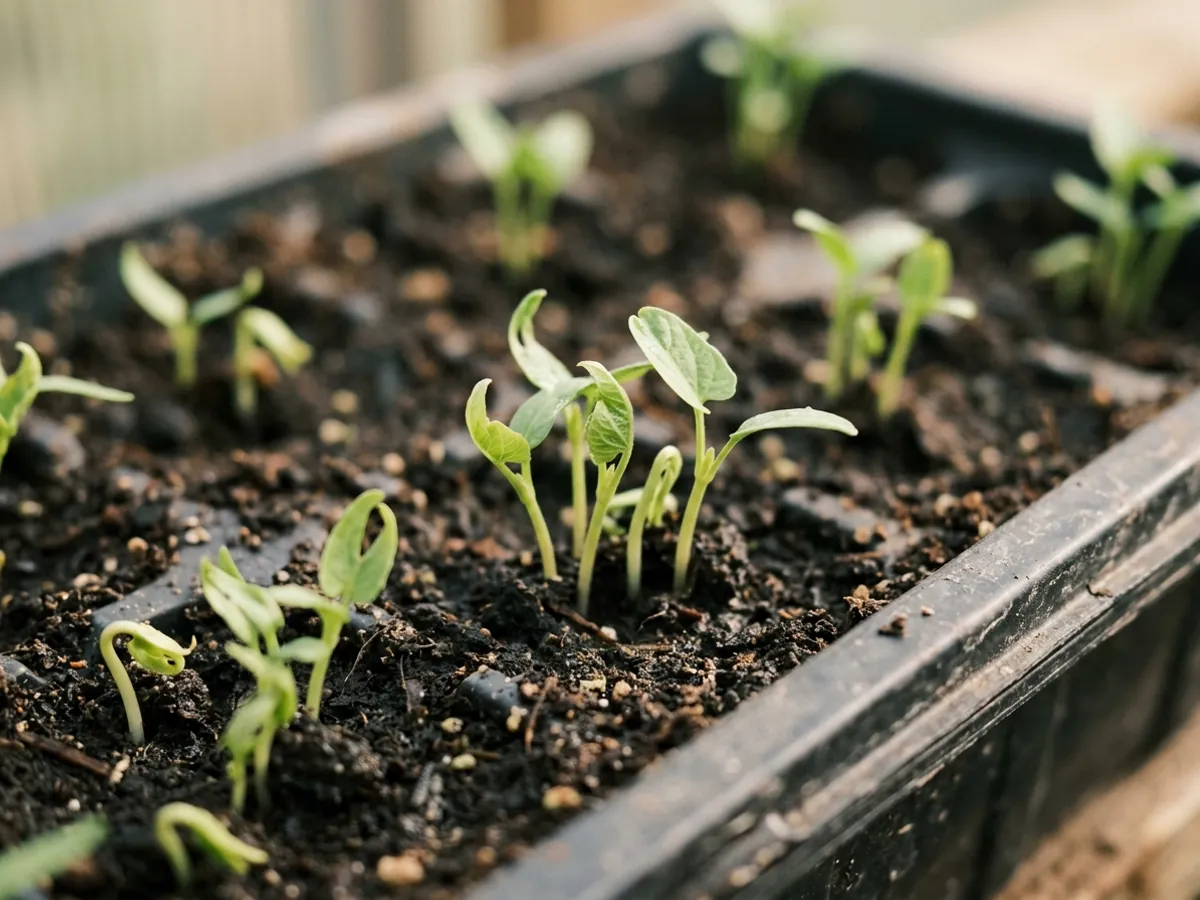
We put the Pi somewhere warm and bright next to a tray of water spinach seedlings, used the live view to frame and focus the camera, and started a time-lapse taking one photo every 15 minutes. That’s a good interval for close-ups of seeds germinating.
Then we left it alone for six days, checking on the plants from a phone now and then.
The result
Six days of growth, one photo every 15 minutes. Sadly the original video was lost along with the old website.
What we’d change today
- A newer board. A Zero 2 W for the cheapest build, or a Raspberry Pi 4 or 5 for more processing headroom.
- An official camera. Camera Module 3 costs about £25 and has autofocus that you can fix in place once the shot is framed.
- Better storage for long runs. For anything longer than a few weeks, save photos to a USB SSD rather than the SD card.
Planning something longer than a week of seedlings? Our year-long time-lapse checklist covers power, storage and weatherproofing.