
Why long-term time-lapses flicker, and what you can do about it
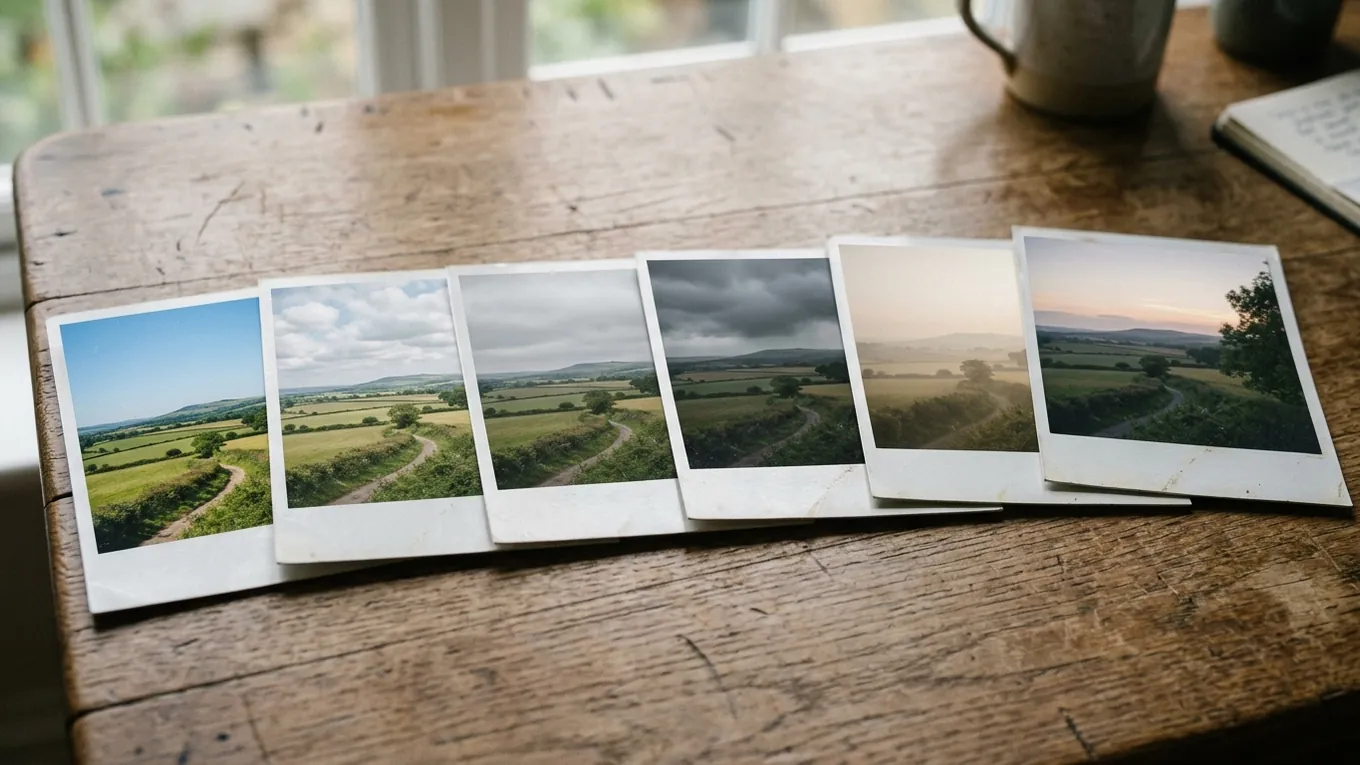
Flicker is that unsteady, strobing change in brightness from one frame of a time-lapse to the next. In a short time-lapse of a sunset, the camera is usually to blame. In a long-term time-lapse, shot over weeks or months, the biggest cause is the sky.
It helps to know which kind you’re dealing with, because each one has a different fix, and some can’t be fixed after the fact at all.
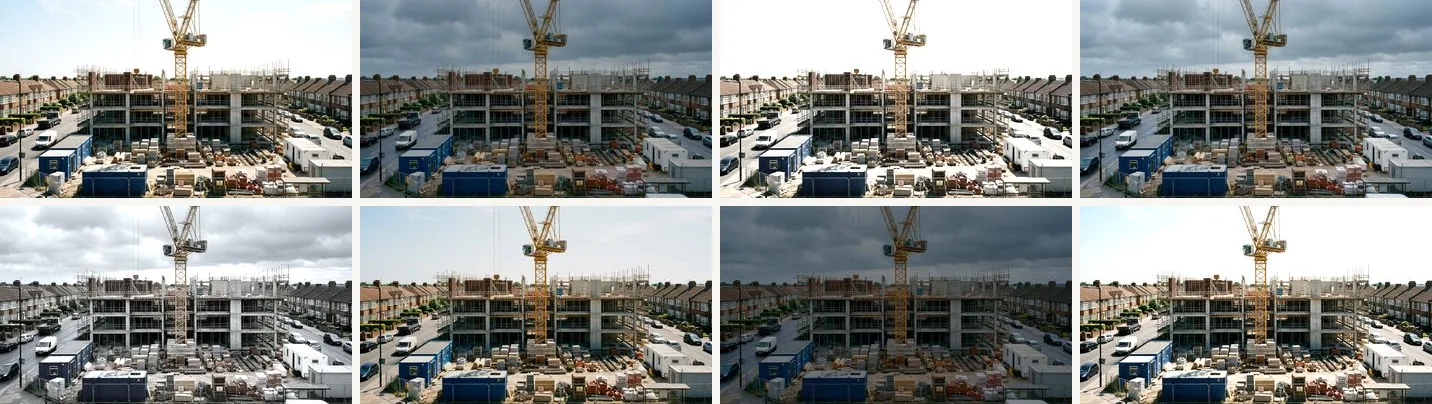
The six usual culprits
1. Clouds and weather
Sunny at noon today, overcast at noon tomorrow. The difference isn’t just brightness: hard shadows appear and vanish, contrast changes, and the colour of the light shifts. In a long-term time-lapse this is nearly always the biggest source of flicker, and nothing on the camera can prevent it.
2. The sun moving
Shadows sweep across a scene through the day, and the sun climbs and falls through the seasons. Even photos taken at the same clock time drift. If your camera follows local time, the clocks changing in spring and autumn moves every photo by an hour of sunlight overnight.
3. Automatic exposure
Left on automatic, the camera re-meters every shot. A white van parking in the corner of the frame can darken the whole picture.
4. Automatic white balance
The same problem in colour: the camera guesses the colour of the light afresh each time, so frames lurch between warm and cool.
5. Aperture flicker
With some DSLR lenses, the aperture closes to a very slightly different size for every shot. Raspberry Pi cameras don’t have this problem, because nothing in their aperture moves between shots.
6. Things in the way
Rain and condensation on the window, dust, a passing lorry, branches blowing in the wind. Each of these makes one frame stand out from its neighbours.
What you can fix on the camera
Lock exposure and white balance once you’re happy with the picture. That stops the camera itself from causing flicker. The catch is that it leaves weather flicker fully exposed: a grey day simply comes out darker.
Schedule by the sun, not the clock. Shooting at solar noon, or ignoring daylight saving time, avoids the twice-yearly jump.
Keep the window clean and shaded. A hood over the camera window keeps off rain and stray light.
What you can fix afterwards
Deflicker tools, found in video editors and dedicated time-lapse software, measure the brightness of each frame and nudge it towards a smoothed average. They work well for small changes in overall brightness.
They struggle with everything else. A deflicker tool can make a grey frame brighter, but it can’t add the shadows a sunny day would have had, restore lost contrast, or change the colour of the light. Push it too hard and the picture starts to “breathe”. And because it changes pixel values, the frames are no longer quite the photos the camera took.
What only a better photo can fix
Weather and shadows can only really be fixed by using a different photo: one taken in conditions closer to its neighbours. There are two ways to get one. You can over-shoot, taking many photos per interval and choosing the best by hand. Or you can let the camera make the choice as it goes, which is what SmoothLapse does. We compare the approaches in Over-shoot, deflicker or select?
At a glance
| Cause | Fix on the camera | Fix afterwards | Fix by choosing frames |
|---|---|---|---|
| Clouds and weather | No | Brightness only | Yes |
| The sun moving | Partly (schedule by the sun) | Brightness only | Yes |
| Automatic exposure | Yes (lock it) | Mostly | Mostly |
| Automatic white balance | Yes (lock it) | Partly | Mostly |
| Aperture flicker | Yes (manual lens) | Mostly | Mostly |
| Things in the way | Partly (hood, clean glass) | No | Yes |
The best results come from combining them: lock what you can on the camera, choose the best frames, and use a light deflicker at the end if anything is left.