
Planning a year-long Raspberry Pi time-lapse: a checklist
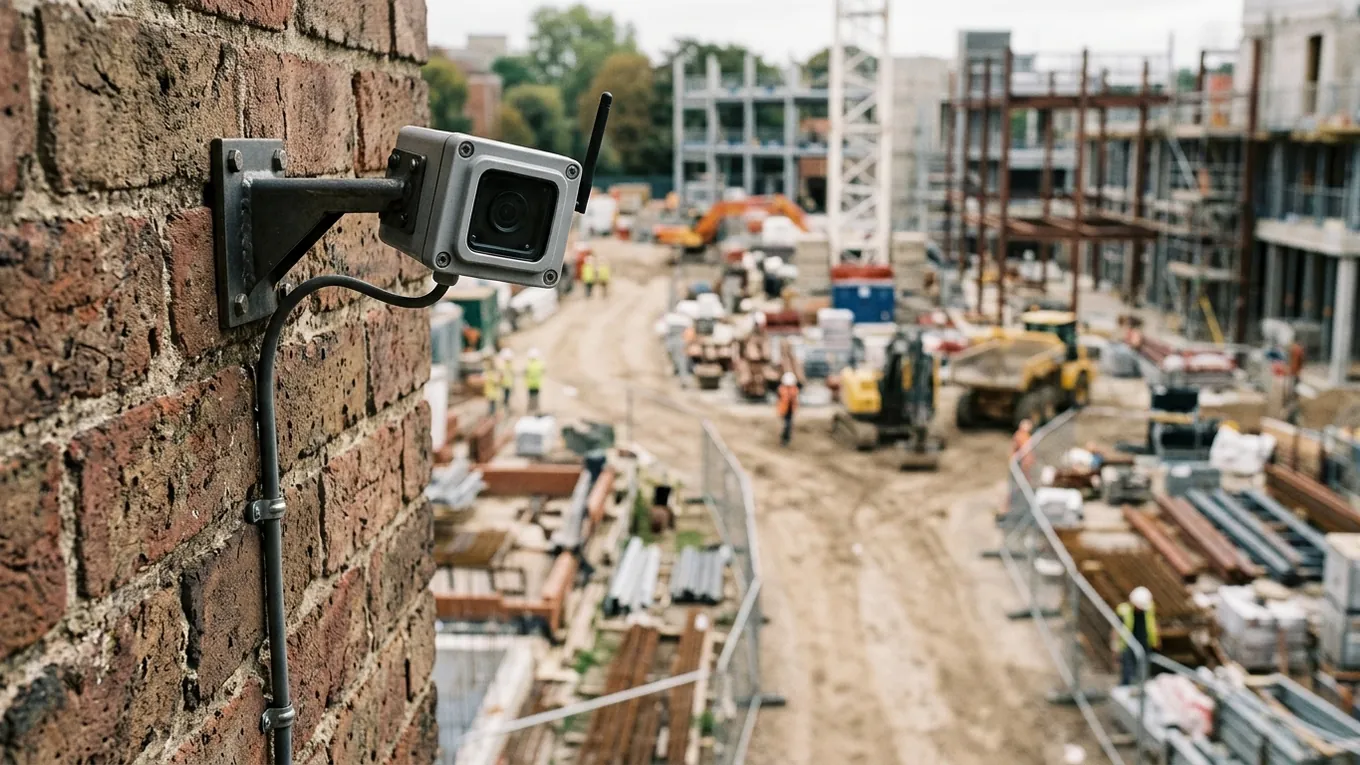
A long-term time-lapse is mostly won or lost before the first photo is taken. Once the camera is up a pole for a year, every problem is harder to fix. Here’s what to think about before it goes up.
Choose the spot
- Mount it rigidly. A camera that shifts by a fraction of a degree over a year will make the whole film wobble. Walls and solid brackets beat fences and poles that sway in the wind.
- Keep the sun out of the frame. In the northern hemisphere the midday sun is in the south, so a camera facing roughly north keeps the sun behind it. Remember that the winter sun sits much lower than the summer sun.
- Think about what will change. Scaffolding, hoardings and trees coming into leaf can all block a view that looked clear on day one. Leave some room around the subject for it to grow.
Pick the camera
- Camera Module 3 is small, has 12 megapixels and autofocus, and comes in a wide-angle version. For a long-term time-lapse, set the focus once and fix it so it can’t hunt between shots.
- The High Quality Camera has 12.3 megapixels and takes interchangeable C- and CS-mount lenses, so you can choose the focal length. Focus and aperture are set by hand on the lens. Once they’re right, tape the rings so they can’t move.
Pick the board
For a regular time-lapse almost any Raspberry Pi will do. For a SmoothLapse, more processing power means more photos judged each day and a better choice of frames. A Raspberry Pi 4 or 5 gives plenty of headroom. Smaller boards use less power but judge fewer photos.
Power
- Mains is easiest. Use the official power supply for your board (the Raspberry Pi 5 is designed for a 27 W USB-C supply), and outdoor-rated cable and sockets protected by an RCD.
- Plan for power cuts. A Raspberry Pi starts up again on its own when the power comes back, so make sure your time-lapse software does too. A small UPS board can ride out short cuts.
- Solar is possible, but size it for winter. A Pi working all day draws a few watts continuously, and the days are short when you need the most power.
Storage
- Be kind to the SD card. SD cards wear out with constant writing and can be corrupted by a sudden loss of power. Save photos to a USB SSD, or an NVMe drive on a Raspberry Pi 5, if you can.
- Work out how much space you need. One 5 MB photo an hour through twelve hours of daylight is about 60 MB a day, or 22 GB a year. Over-shooting multiplies that; choosing frames on the device doesn’t.
- Back up. Copy the photos off the device regularly. A year of frames is irreplaceable.
Weatherproofing
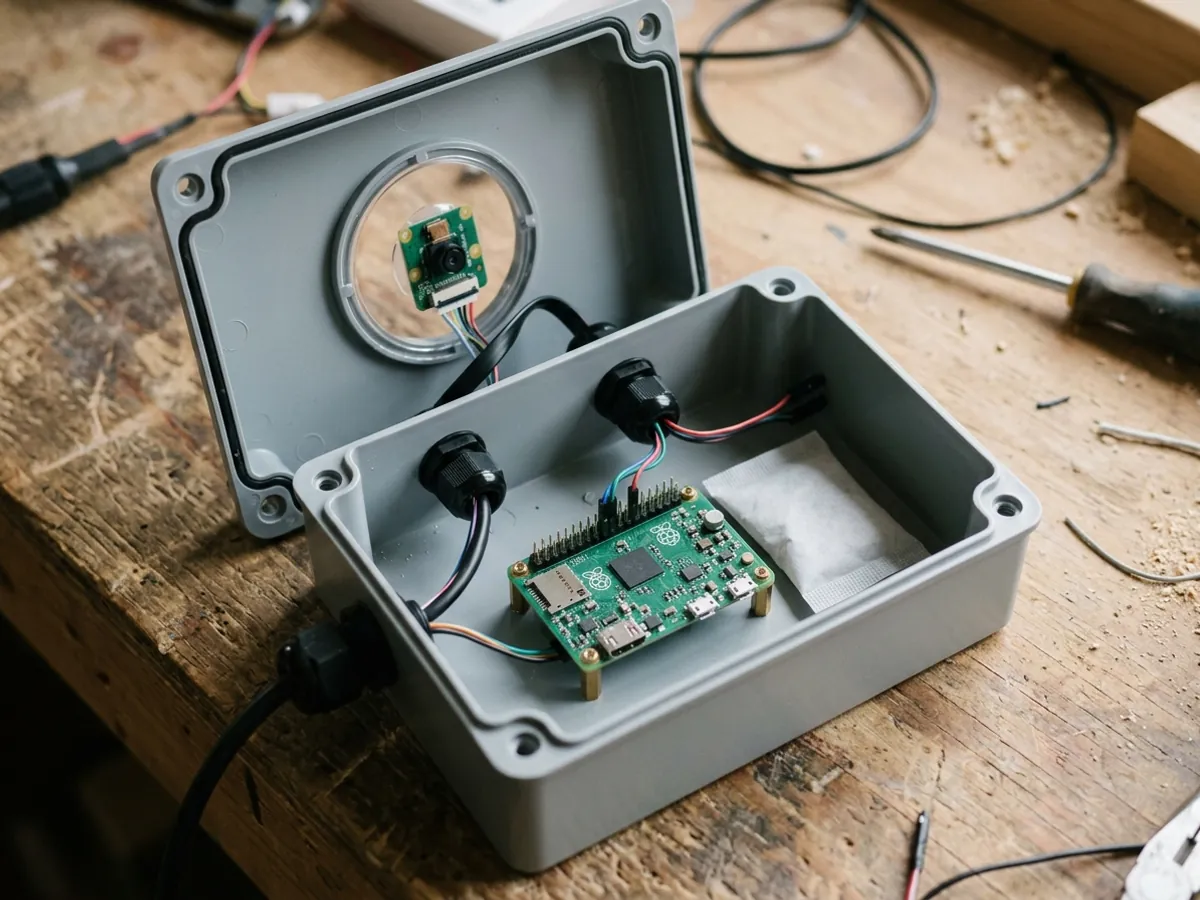
- Use a sealed enclosure rated IP65 or better, with cable glands for every cable that goes in.
- Put the lens right up against the window, and black out the inside, to avoid reflections. Add a small hood above the window to keep the rain off.
- Fight condensation with silica gel sachets and a breather vent. Condensation on the inside of the window ruins photos and is hard to spot until it’s too late.
- Watch the heat. A sealed box in direct summer sun gets very hot, and a hot Pi slows itself down. Shade the box, or pick a light-coloured enclosure.
Network
- It’s optional, but useful. A connection lets you check the camera is still working without climbing a ladder.
- Wired is more reliable than Wi-Fi for a camera that has to run for a year. Power over Ethernet, with a PoE board, can carry power and data down a single cable.
- Keep it private. Change default passwords, and don’t expose the device directly to the internet.
Test before you commit
- Run the whole setup for a week somewhere convenient before it goes up.
- Pull the plug and check that everything comes back on its own.
- Check the picture at different times of day, not just when you set it up.
- Put your contact details on the box, in case someone finds it.
The short version: mount it solidly, keep the sun behind it, fix the focus, use mains power if you can, save to an SSD, keep it dry and shaded, and test it for a week before it goes up the pole.